About Notification Feeds
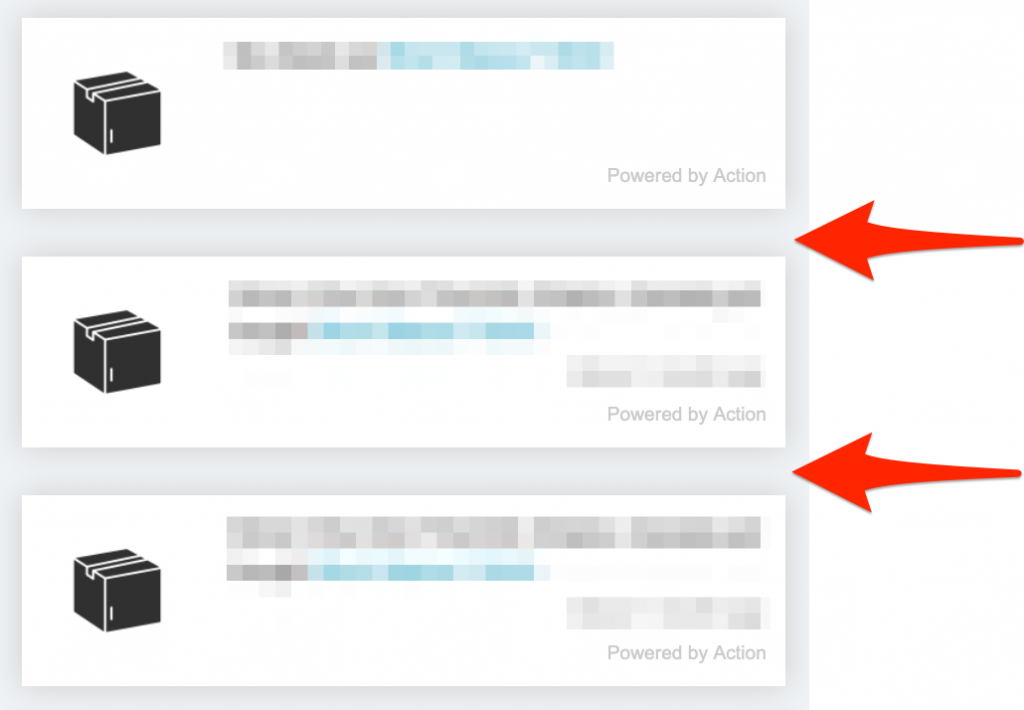
Clicking on Feed in the dashboard will allow you to see your current feed of order and product notifications. What you see will be what your customers see.
Scrolling down the feed, you can select an individual Notification Item and edit its settings.
Installation
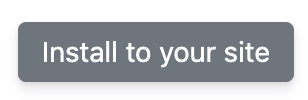
If you click on the Install to your site button, a modal will appear:
If you’re already using our automatic JavaScript loader, we’ve installed the JavaScript to your shop already and you will see the following:
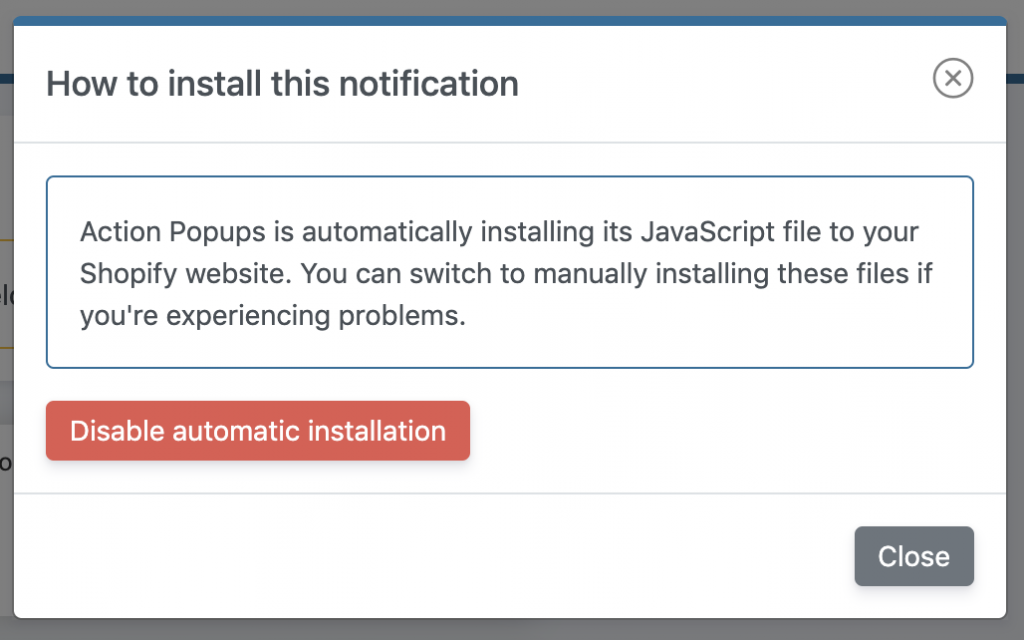
You can disable automatic installation by clicking on the red button. For 99% of the time, you will simply want to let ActionFeed handle all the installation itself.
However, if you’ve opted to manually install the application, you will see this instead:
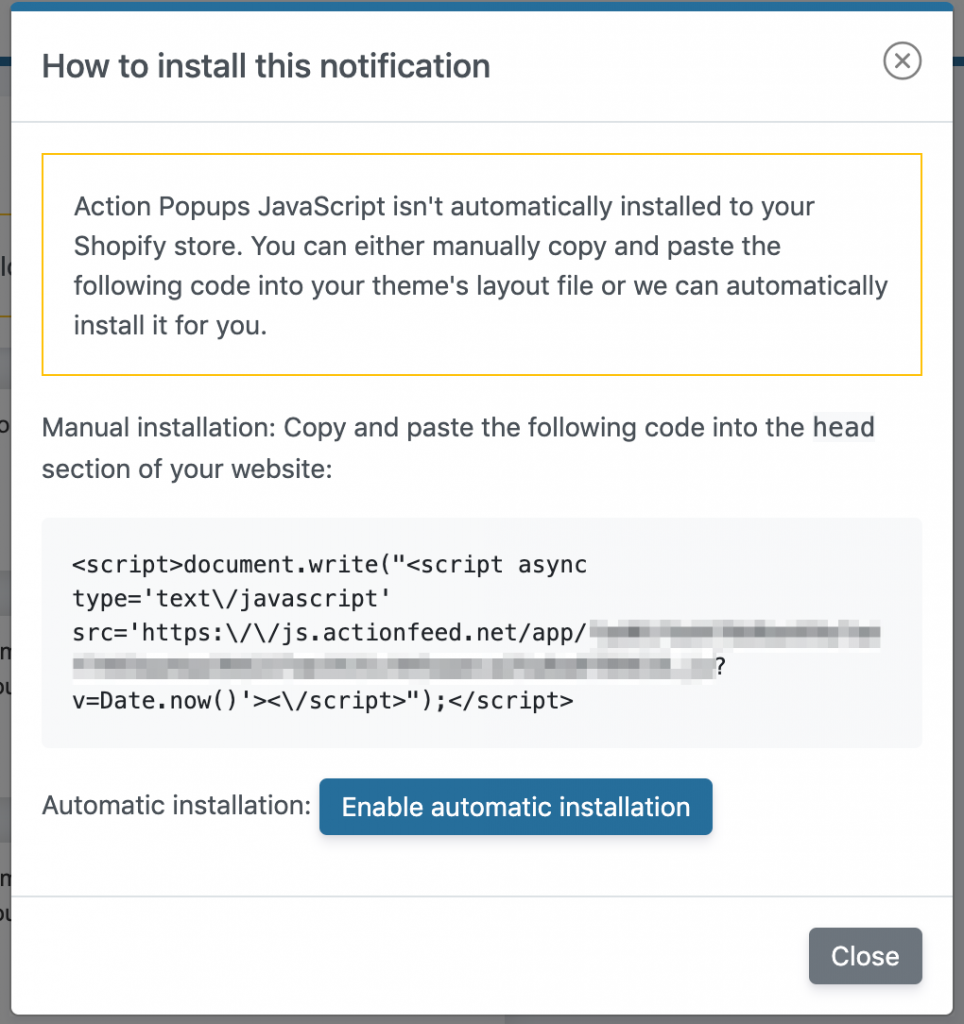
You will need to copy and paste the JavaScript snippet into your site’s theme.liquid file. This piece of code will asynchronously load the application to your Shopify store.
You can also re-enable automatic installation (recommended) for your store.
Settings
For your feed itself, there are several settings you can modify. These settings apply to all notification items in that feed.
To access the settings, click on Settings:
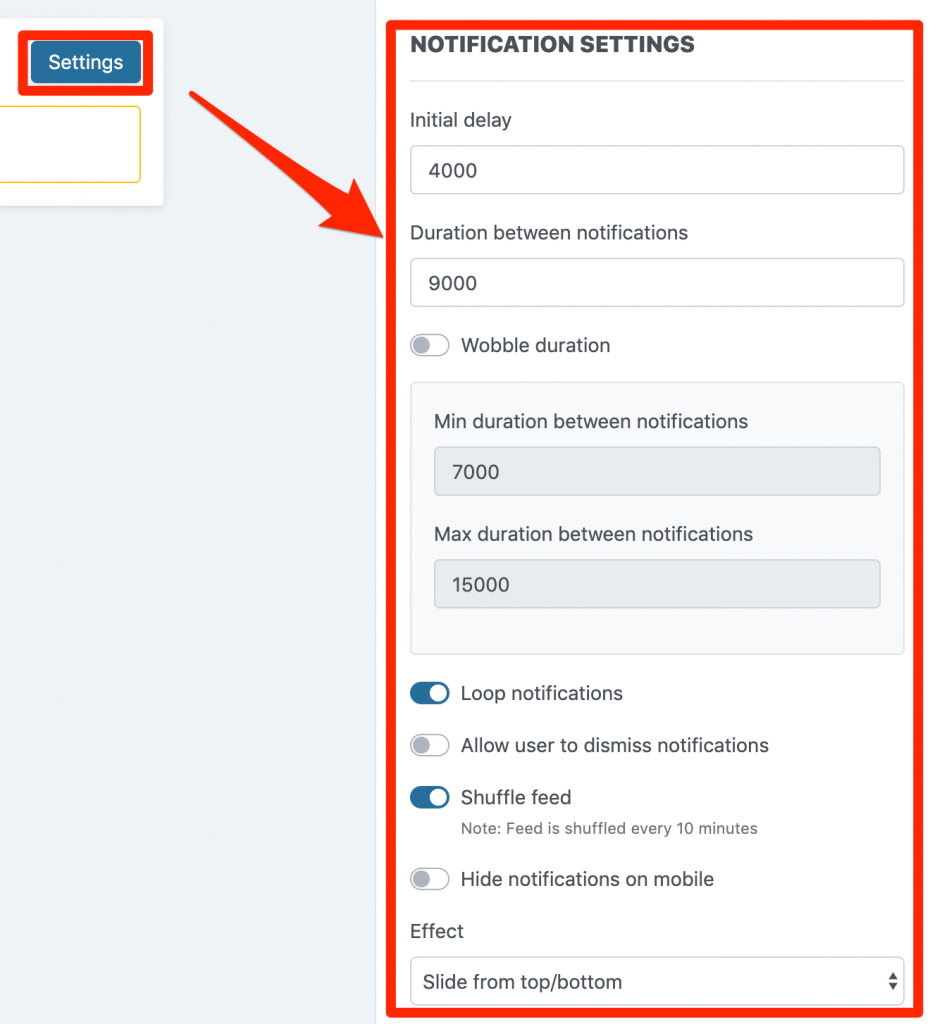
Let’s go over some of the settings here. For all numeric values, except where specified, the values are in milliseconds.
Remember: 1 second equals 1000 milliseconds
Why did you guys use milliseconds instead of seconds?
The reason we used milliseconds is to give greater control over the timing settings. By using fractional seconds (eg. 1.53 second), certain mathematical calculations the application does can be slow. Milliseconds are a small enough unit of time to provide a fine enough control without sacrificing application performance.
Initial delay
The initial delay represents how long the application should wait for until the first popup appears.
Note that the actual delay may be slightly longer than what is set here, usually by about 500-2000 milliseconds or so. This is due to the fact that the user’s browser first needs to load the page, which can slow things down. Adjust the value here accordingly.
Duration between notifications
The duration between notifications represent the time between showing each notification. This duration begins the moment a notification disappears to when the next notification appears.
Note that the actual duration may be slightly longer or shorter, depending on the amount of time it takes for the animation for the notification start and stop.
To ensure a smooth animation rendering, ActionFeed calculates its animation duration (not settable by the user) based on the value in the duration between notifications.
Wobble duration
You have the option of wobbling the duration between notifications. This will randomize the duration between notifications based on the min and max values (set immediately below this setting).
Note that randomization can result in sequential notifications having the same duration. Randomization does not mean that sequentially similar numbers can’t happen, but that over time things should appear random.
Loop notifications
By default, ActionFeed will restart the notification sequence once a user has seem all available notifications. If you disable loop notifications, the notifications will stop once a user has seen the last notification in the feed.
We recommend leaving loop notifications enabled.
Allow user to dismiss notifications
Enabling allow user to dismiss notifications will add an “X” button on the upper right hand side of your popup notifications. Your users can click on this “X” button, which will add a cookie to the user’s browser to not show the notifications again for 30 days.
Note that the “X” button is not visible to the user until they are hovering over the popup. On mobile devices, this “X” button is visible at all times.
Tip: If you (the merchant) are testing out this feature and have accidentally hit the “X” button, you can get the notifications to appear again by clearing your cookies.
Shuffle feed
ActionFeed retrieves batches of 100 items from the feed at each time and displays those to the user. By default, the batches are in a specific order that’s determined by when the event occurred.
For orders, this means when the order was created. For product notifications, this means when it was last updated.
Enabling shuffle feed will tell ActionFeed to mix up each batch of notifications before it is displayed to the user. So, this means that when the application retrieves a batch of 100 items, this 100 items are shuffled. This again applies to the next batch of 100 items, and so on.
Hide notifications on mobile
ActionFeed’s popup notifications are mobile responsible. That means it’s designed to look great on both desktop and mobile devices.
However, you may decide that you want to turn off notifications on mobile devices. This can sometimes be necessary if your site’s design takes up a lot of space on the screen already.
Once enabled, notifications will be hidden on mobile devices.
Effect
You can select the type of effect when notifications appear.
There are currently 3 types of effects:
- Sliding in and out from the side
- Sliding in and out from the top or bottom
- Fading in and out
Placement
The placement setting specifies where the popup notifications will appear. Currently, you can specify:
- Top left
- Top right
- Bottom left
- Bottom right
Note: For mobile devices, to ensure that the design looks good and is readable, any setting will appear as 100% of the width of the device.
Customize feeds
You can specify multiple sources of data within a single Notification Feed. Click on Customize feeds, and a modal will appear that lets you customize the data sources.
Only available data sources are shown. Remember to click Save afterwards. ActionFeed will auto-refresh your live feed.